Using whiteboards in the classroom has been the norm at least in the last 20 years. It is nice and neat to use and it’s fun to write on. Also, a DIY classroom whiteboard is an easy way to transform your virtual teaching and learning space.
Knowing this, a few teachers in a former building started implementing DIY whiteboard desk in their classroom. They took whiteboard spray paint and created an enhanced learning experience for their students where they can write on their desks.
I would have loved this when I was a kid!
But now that the majority of teachers around the country are at home, it was time to start thinking outside the box.
So, when I found out I was going to start the school year teaching from home, I knew I didn’t want to throw up a virtual background. I wanted a fun background that still incorporated a learning environment without having to totally transform my home office.
Part of my inspiration came one evening, while watching HGTV (one of my favorite channels). The homeowners were adding a full chalkboard accent wall in their dining room. I knew that many people have done this, but I knew I didn’t want a full chalkboard background.
I knew then and there I want a classroom whiteboard background. It is a perfect way to bring the classroom look to my home, without giving up my home.
It would also give my students a look and feel like they were in the classroom. As if I was in the classroom and they can see the whiteboard behind me, teaching in class.
The next day, I went to Home Depot and bought a little box of whiteboard paint. I decided to pick up the chalkboard paint too since I was feeling extra creative.
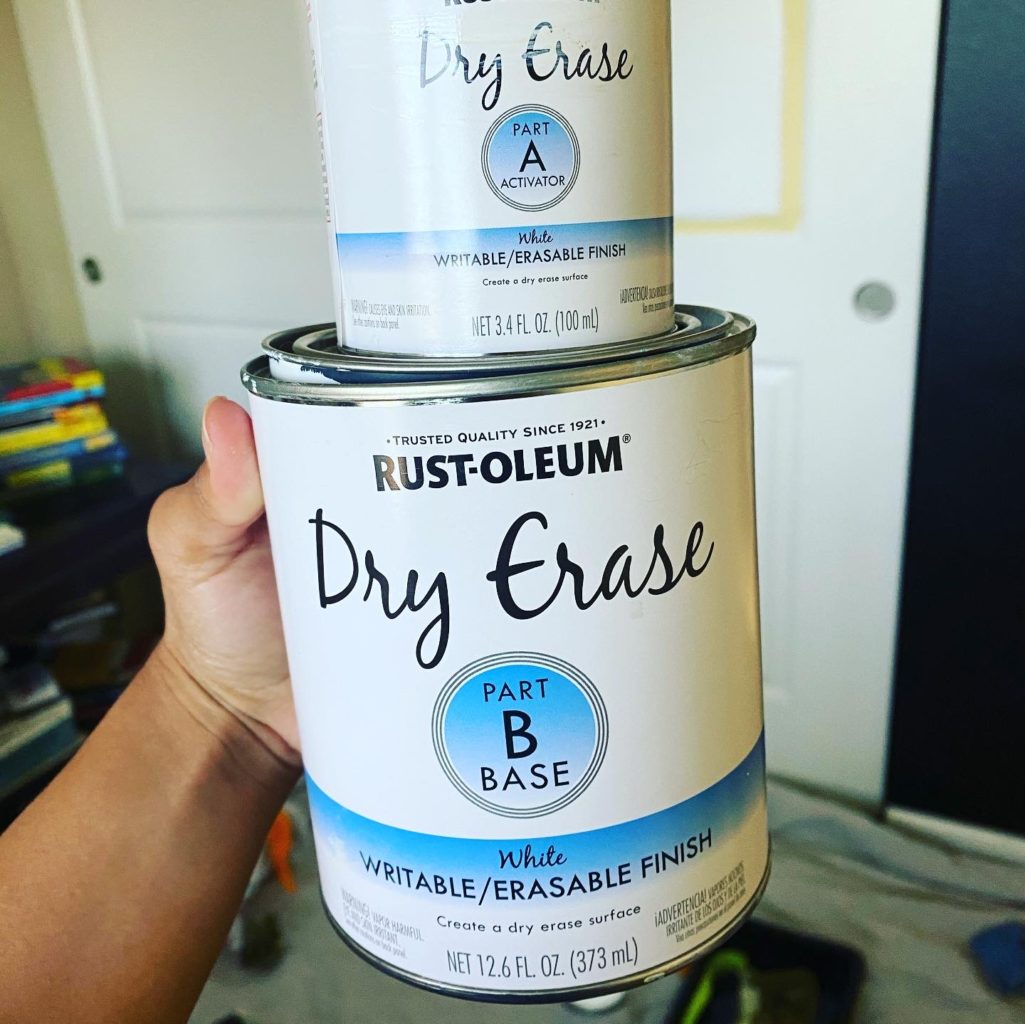
What is whiteboard paint?
Whiteboard paint is dry erase coating that you can apply to just about any surface and turn it into a dry erase whiteboard. The coating is a mix of two separate mixtures. One is Part A- Activator and Part B- the Base.
This post may contain affiliate links. If you make a purchase, I may receive a small commission at no cost to you. Thank you!
What materials do you need for a whiteboard?
I want to preface that my boyfriend is a professional painter that owns a painting company. So most materials he already had, and even though I needed to read the directions a lot, he didn’t need to read the directions at all. Here is a list of materials that we used:
- Paint
- Mini foam roller
- Sandpaper/sanding sponge
- Trays
- Painter’s tape inch and half masking tape or base board, then put your drop cloth or newspaper underneath it.
- Drop cloth/cover – or newspaper/old sheets
Steps to a DIY Classroom Whiteboard
After doing a little research and following the directions listed in the box, I started to prep and prepare for painting a whiteboard in my little office.
1. Decide on where you want to paint.
This was an easy decision for me. I decided to use a closet door that was behind me. This was the best area because it is situated behind me and what everyone notices during my Zoom live classes. It was also a smooth area – that is not required but I thought it was going to be easier to paint on as well.
2. Prep your area
This is where your sanding paper comes in handy. On my closet door, it had a smooth shiny surface, so I had to make sure to sand down to where it is de-glossed.

3. Tape
Tape off your area. Just as in any painting situation, you want to tape off your area to mark where you do and don’t want paint. I wanted to create a simple look so I just taped off the square that was already on my closet.
4. Start painting.
This is the fun part.

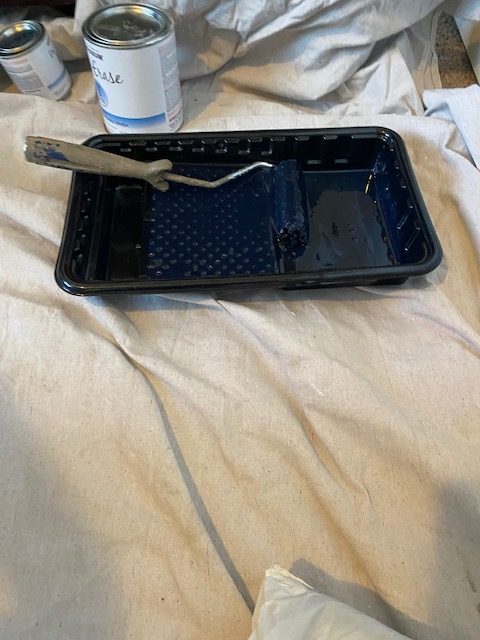
For the whiteboard paint: Pour the smaller can into the bigger can and put the top back on a shake it up. Remember you need to use all the whiteboard paint within the hour or else it will get really tacky and not able to use. I had quite a bit left over because I used such a small area.
Make sure roll your brush so it’s not too wet but also not to dry. Give it a few rolls and you should be ready to go. After you first coat you can go in for a second coat. Just check dry time recommendation on label before second coat. We decided not to do a second coat.
5. Wait 3 days
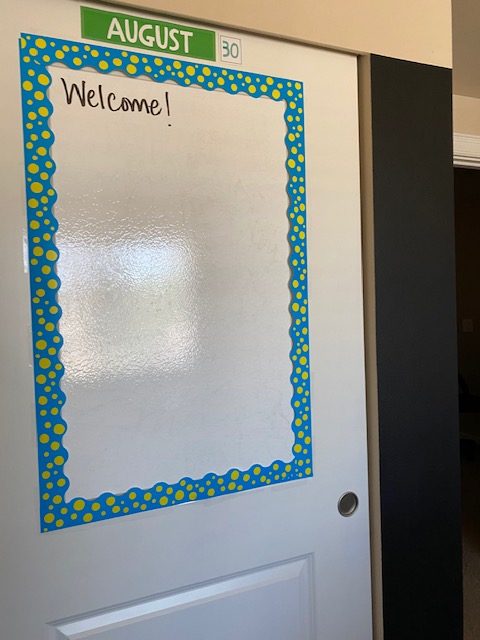
After waiting 3 days, take a dry erase marker and “color” your board, then erase. This gets your whiteboard ready for writing!
I added a colorful boarder around the edges of my whiteboard and decided to put up my dates to make my home office a little more of a classroom feel!
During this time, I also decided to do a chalkboard paint on a mini accent wall next to the closet. The chalkboard paint was a little easier to do, since you don’t have to feel like your are rushed to use the product and you don’t have to mix anything.
For this product, we used 2 coats and let it dry. I also painted a wall for my son too!
You still need to wait about 3 days to write on it and after you do, you need to “break it in” by running chalk over it. The only problem with dealing with this is that I didn’t have an eraser for a chalkboard. All my erasers are for whiteboards and it didn’t work so well. The chalk isn’t coming off like it should but it’s not too noticeable.
Other than that, everyone loves coming in and writing their name or drawing pictures on either the whiteboard or chalkboard.
Final Thoughts
The whiteboard and chalkboard have been great additions to my little office and for a fun teacher-life virtual classroom. I usually put up quotes or reminders and announcements for my students to see.
If you have any questions about painting your own whiteboard or chalkboard in your home for teaching, let me know in the comments below!