I love getting my nails. But sometimes it is impossible just to make time for myself. After watching countless YouTube videos, I decided to try to get salon nails at home. And I think I’ve done it.
My schedule is pretty hectic. I work full-time with a terrible commute. Usually, it is 40-50 minutes during the morning and about 45-60 minutes on the way home.
I’m a Special Education teacher, which means I hold a lot of meetings. Before school and after school, sometimes during my planning hour. And if it coaching season, I add another 2 hours to my day.
I probably cancel more personal appointments than anything else in life and that’s just a matter of fact.
As a working mom, it’s hard to justify spending money and time on something that just isn’t a need. I try to wait until I have school breaks, or special occasions to get some wanted things done. But for the most part, some things get neglected.
This for sure includes my nails.
Sure, I tried to grow and maintain my nails on my own. I would file them and paint them the color of the season. But of course, they never lasted.
My nails always split, break, or the paint would chip in less than a week. And I can’t stand chipped nails. At work I would sit in meetings and all I could think of is that everyone is looking at my chipped nails. Most of the time, I would get so fed up, I would just end up cutting my nails and leaving them natural.
That was my personal nail routine for years, until last spring.
*This post may contain affiliate links. If you make a purchase, I may receive a small commission at no cost to you. Thank you!
One day, one of my students was sporting these cute petite french nails. I commented on how nice they looked and asked where did she get them done.
To my surprise, she commented, “They are just press-on nails. I got them from Target.”
Press-ons! What?!
I didn’t believe press-on nails can look so classic, so natural.
Later that day, I decided to do some research. I’m a research fanatic.
I went online, and watch YouTube videos all night. I found all kinds of press-on nails that were only $10 or less. They all looked like they were done at the salon. I had to give it a try.
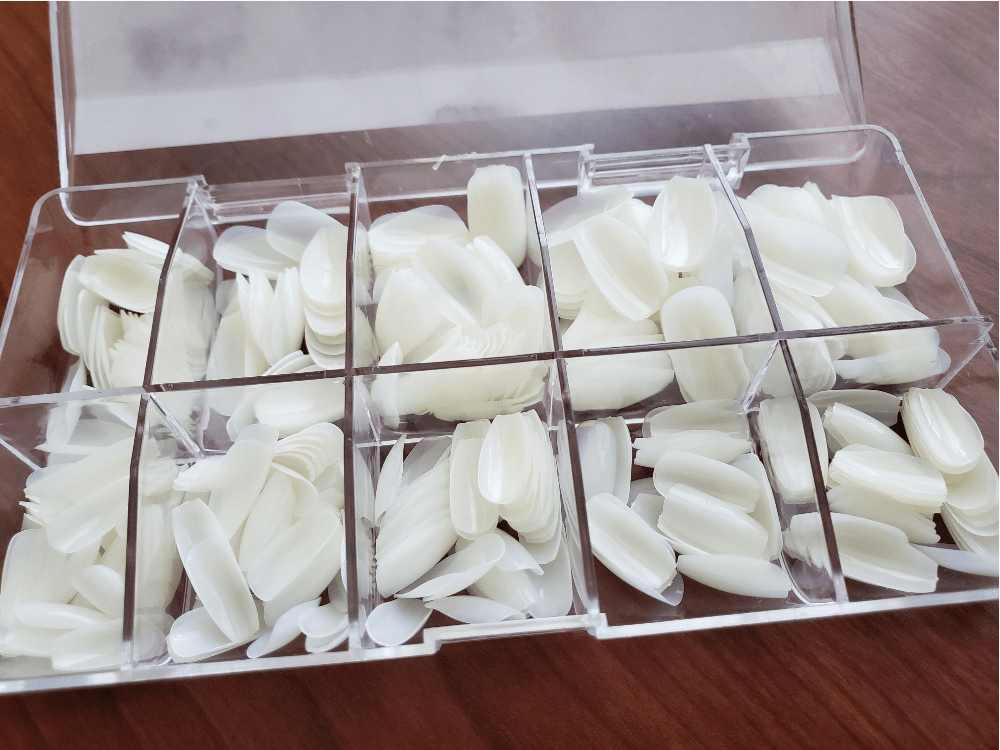
I went on Amazon and found a cute coffin nail style. They weren’t too long or too short but just enough to give a little glam to my nails. I knew if I wanted to file them into other shapes it was possible to do.
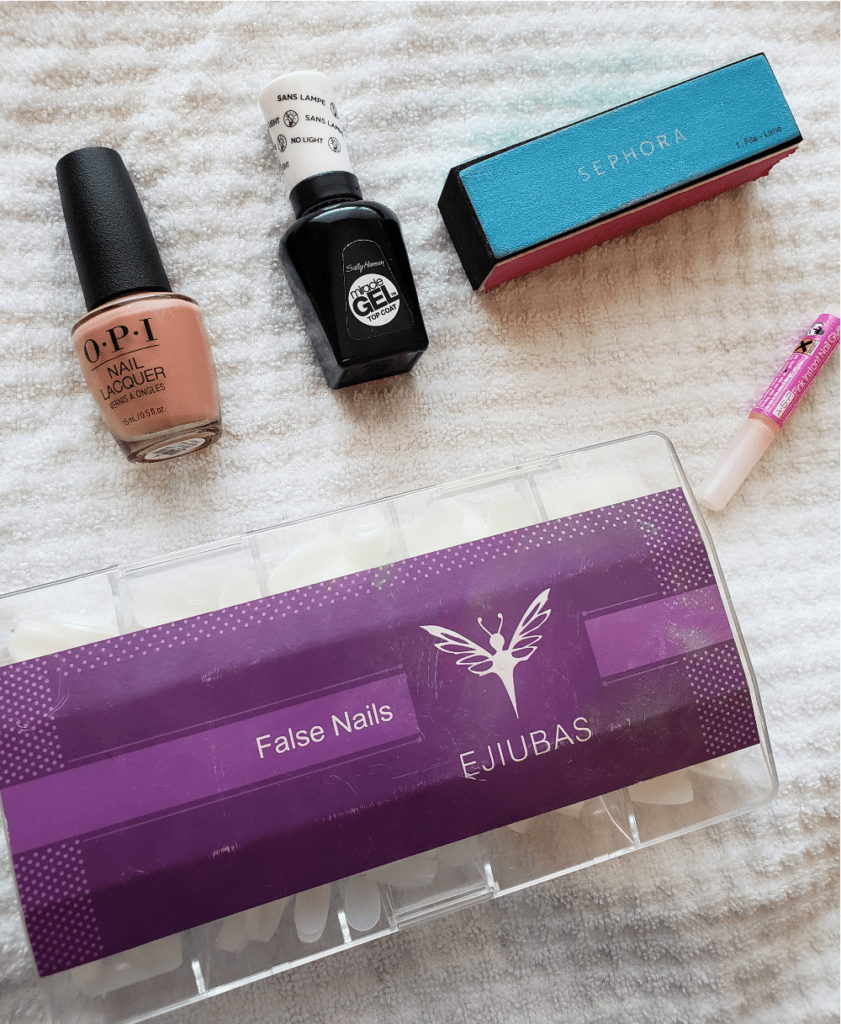
Next, I bought some simple to use nail glue. I made sure to find some that weren’t going to damage my nails.
How to Apply Press-On Nails


How to Prepare for Press-On Nails
I began by washing my hands. I then pushed back my cuticles. Sometimes I use cuticle oil and set my hands in warm water. This is usually when my nails look really bad.
Next, I push the cuticle back, I wash my hands again and dry completely. Then, I sort the press-on nails to fit over my natural nail. I line them up in finger order.
After that, I apply the press-on nails to my right hand-the hand I write with. This makes it easier when applying to my left hand when all the nails are on. I add a little nail glue on my nail and on the press-on for extra support. This is because I’m so rough they might fall off too easily.
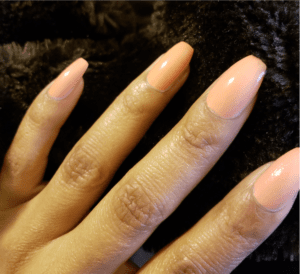
When all nails are applied, I file the top just a little. And then start applying nail polish. Depending on the nail polish you can get away with one coat but two coats are the norm for me. I then apply a gel top coat. This really helps the nail polish shine and gives it a lasting finish.

How Long do Press-On Nails Last?
This entire process takes me 15 minutes to complete or less. My nails can last for up to 2 weeks. If one nail pops off, I can just glue it back on. If I want an upgraded look I do a couple of things:
*I can easily swap out different nail colors.
*I can cut the coffin look down and file into cute petite squares.
The possibilities are endless and they are all done in the comfort of my own home. The time and money I save by not going to a nail salon are valuable.
Update:
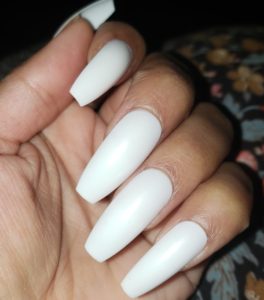
I recently tried a new look. These are long white coffin nails. Now, I don’t even have to apply nail polish. Just glue them on and go.

Give this look a try for under $10 you will not be disappointed.
Let me know if you tried it or have another DIY nail look that I can try! I really want to try the dip nails at home so look out for that in the future.
 Need a break with a classroom read aloud? Check out the playlist HERE!


